EVA and Craft Foam |
| I like describing crafting with foam as an oxymoron. If you know what you’re doing, it can be a fairly simple way to make armor, weapon, or accessories; however, it’s difficult to make it look good. I want to quickly note that in this blog, I’ve color-coded the tools for each step. Each color is associated with the store that I bought the item from. If it does not have a color, then it was an item I had around the house (and something you can probably get anywhere): Red is Harbor Freight Blue is Walmart Green is Joann Fabrics Orange is Michaels There are seven parts to crafting with foam: patterning cutting forming detailing priming painting attaching Patterning Tools: clingfilm or aluminum foil, masking or duct tape, scissors, marker, straight pins (optional), heat gun (optional) It’s important to pattern out your pieces using your body (or someone else’s or a mannequin) because then you know that the pattern is 1) a good fit for the part of your body you want to cover and 2) will lay correctly on your body. To pattern an armor piece: Wrap the area on your body with clingfilm/aluminum foil. Be careful not to wrap it too tightly, but make sure it is also not too loose. Keep it snug. Wrap this area in tape. Masking tape works best (because it’s easy to draw on), but you can also use duct tape. Again, don’t be too tight! Draw out the basic shape of the armor piece. You can add details later. The most important part is getting the dimensions of the outer edges and making sure that it is uniform. It’s important to note here that you want to create a bisect line. This will be the line that you cut along to remove the pattern from your body. You want this seam to be in a natural place and hidden (unless, of course, you mean to leave a section open aesthetically). Draw a line where you want the seam to be, and then you want to do several score lines across the seam line. We do this because when you are transferring your pattern to foam, the score lines help you to line your seam up neatly. Cut along your seam line and then trim your pattern along the edges that you drew. You also want to cut notches in your score lines so that you can transfer them to your foam. For a lot of armor, you’ll find when you go to lay your pattern out on the foam that it won’t lay flat (sometimes you can smooth it out on your own). If this is the case, you have a couple of options: Option 1: Draw a slit from about the middle of the piece to the outer edge (don’t forget seam marks!) and cut it. This will allow the piece of lay flat. Option 2: Heat your foam (with a heat gun) and stretch it over a rounded object. I use my knee a lot. It takes several attempts of heating and stretching, but if you do this, then your pattern should lay nicely over your rounded foam. Be careful tracing your patterns onto your foam. A lot of people use straight pins to hold their pattern in place as they trace around it. If you are using only one pattern for two pieces (for example, a right forearm and a left forearm), be sure to flip your pattern over before tracing. This will ensure that the pieces are identical for both sides (this of this like a mirror). Don’t forget to include your notch/score marks on your tracing! Label your pieces before you cut them. I usually label with the body part and which edge belongs on what part of my body. For example, the forearm piece would get a label of right forearm and the edge that sits on my wrist would be labeled wrist and the edge towards my elbow would be labeled elbow. Cutting Tools: box cutter, foam, cutting board (optional) It’s important to be careful when you’re cutting. You need to maintain a constant 90 degree angle to your foam. You also want to be careful to cut INSIDE of your pattern lines. If you don’t, then your piece will be too big. Make sure that your box cutter blade is new and sharp. Place your foam on a surface that was made to be cut upon. Avoid laying your foam on carpet or tables that are not protected. You can buy cutting boards for this reason, or you can do what I do and either place another piece of foam under the foam you are using or a piece of cardboard. You want your box cutter to be extended between ½ - 1 inch. Any shorter and it won’t cut through your foam all the way; any longer, and it will become slightly flimsy and hard to cut with. You can play with this and find a length that you are comfortable with. Pick a starting point on the pattern that you drew onto your foam. I usually like to begin at a sharp edge or halfway along a straight line. Using your sharp box cutter blade, insert it into the foam at a 90 degree angle – you want to cut along the inside edge of your pattern marks. Don’t try to cut the entire piece out in one swipe of your cutter! I usually do one side at a time, being careful to line up all of the cuts. If I make a small mistake, it’s not the end of the world – I can fix it later with my rotary tool. Be sure to change your box cutter blade frequently. They dull quickly, and the sharper your blade is, the easier it’s going to be to slice through your foam. This is especially important if you need to trim an uneven edge. Duller blades (even slightly dull) will not trim foam edges nicely. Avoid using scissors to cut EVA foam (scissors are okay for craft foam) because the scissors can smash/squish your EVA foam and create uneven cuts. Forming Tools: foam cut-outs, heat gun, rubber cement (optional) Forming foam is one of my favorite parts of this process, but it’s important to make sure that you have the right tools for the job. I’ve seen people form foam using the burners on their stovetop as a heat source and I’ve also seen people use their ovens! Please do not do this! It is very dangerous and a fire hazard. You can pick up a heat gun for under $20. My heat gun has two settings and I really like it because I can control (to some extent) how hot it gets. Choose the piece that you want to form first and decide how you want it to lay on your body. I usually pick a piece and form it to my body to get a feel for how much I need to form it. Using the heat gun (I do this part on the high setting), blow the heated air over the BACKSIDE of your foam piece – for EVA foam, this is the side with the bumps. Be careful not to put your heat gun too close or it will burn the foam. Heat the back for thirty seconds and begin to form it. Be careful not to burn yourself, but you can lay the piece back onto your body to form it that way. You may have to do this several times. Be sure to hold it in place until it cools so that it will uphold its shape. It’s better to overdo it than underdo it (at least in my opinion). Continue this process until it holds the shape you want. It’s important to note here that if you had to cut a slit in your foam to force a rounded pattern to lay flat, you’ll want to close that seam as you are forming your foam. To do that: Gently heat the back of the foam. Line your seam up so that your notch/score marks will meet up. Using your rubber cement, apply a thin layer on both edges of the seam. Use your heat gun (on low if you can) to gentle dry the cement – about 20 to 30 seconds is all you need. Match your notch/score marks CAREFULLY as you push your seam together. Be sure that they line up and your seam is even. If it’s slightly uneven, don’t panic! We’ll tackle that a little later. Just get it as perfect as you can for now. If you royally mess up, applying some more heat with the heat gun (gently, so you don’t burn your foam) should allow the seam to pop open. Detailing Tools: foam cut-outs, tape patterns, craft foam, googly eyes (optional), rubber cement, hot glue (optional), scissors, box cutters, dap quick seal, soldering iron (optional), heat gun, fingernail scissors (optional), marker, rotary tool Detailing is a great way to bring life and dimension to your armor piece. This could include trim, design, rivets, and beveling. Adding Trim or Craft Foam Accents: I always start with deciding if I want to do a trim or not. It’s a good way to draw the eye and hide any seams or unsightly edges. To create trim, you first want to start with the pattern than you created using the clingfilm/aluminum foil and tape. I like to use the patters because then I can get a more accurate shape with the craft foam. Lay the pattern on your craft foam and trace around it. From here, you can design your trim or accents. Just like on EVA foam, you can use the same pattern to do a left and a right variation, just make sure to flip your pattern over before you trace. When cutting, you can use either scissors or box cutters. I tend to carefully cut using scissors for the outer edge and a box cutter for the inner edge. Alternatively, for small details, you can use those tiny fingernail scissors (I’ve never used them, but I’ve seen it done). Be sure to cut along the inside edge so that your trim is not too big for your armor piece. Lay your cut out onto your foam piece, making sure to line the edges up where you want them. I like to trace right onto my foam piece where the trim will lay so when I’m ready to attach it, I already know 1) where to glue and 2) where to place the craft foam piece. Coat the area of the EVA foam to be covered by the craft foam with a light layer of rubber cement (some people prefer hot glue – I think rubber cement is easier to work with, is quicker, holds better, and makes for a nicer appearance). Also coat the underside of the craft foam (the side to be attached to the EVA) with a thin layer of rubber cement. Gently heat both glued areas with the heat gun (on low, if you can) for 20 to 30 seconds. Don’t put the heat gun too close or it will burn your foam. Especially the craft foam – it’ll warp it. BE CAREFUL when attaching your craft foam to your EVA foam. The rubber cement will hold REALLY well and craft foam will rip if you try to remove it. Use your guide lines that you traced on to slowly and carefully lay your craft foam onto your EVA foam. You can stretch and pull the foam as you need to. Adding Accents/Designs There are two popular ways to add designs and accents to your foam. The first involves a box cutter and heat gun, and the second involves a soldering iron. First Strategy: Box Cutter & Heat Gun This is the strategy I usually use. Draw out the pattern or accent that you want on your foam. With your box cutter (extend the blade to maybe ¼ an inch or shorter – any longer and it will cut all the way through your foam – you don’t want that to happen!), carefully cut into your foam over your pattern marks. Using your heat gun (I usually switch between low and high, being careful not to burn the foam and constantly moving the heat gun), heat the cut marks. They should begin to open up to reveal the detail Second Strategy: Soldering Iron I’ve never actually using a soldering iron to create designs on my foam, so you might want to check some tutorials before trying it. First thing you want to do is draw out the design that you want to make in your foam. You can do this while your soldering iron heats up. Very CAREFULLY use the soldering iron to carve your design into your foam. Be careful not to press the iron too far into the foam or it will poke through to the other side. Adding Rivets There are a bunch of strategies that I’ve seen people use to add rivets. Some involve brass fasteners and some involve dollops of hot glue. My favorite strategy is googly eyes. First Strategy: Rivets with Hot Glue You need to be careful to use this strategy. I don’t like this strategy because it’s hard to get everything uniform. Mark on your foam where you want your rivets to be – usually this will be on the corners of foam or wherever two pieces would match together. Play around with it and decide what looks best to you. Using your hot glue, create a small dome of glue on the part you marked. You have to be careful because hot glue will warp when you pull the hot glue gun away. Allow the hot glue to cool before touching. Second Strategy: Rivets with Googly Eyes This is my favorite strategy because it’s easy (and fun). You can use hot glue or rubber cement. I prefer rubber cement because it’s cleaner and holds better. Mark where on your armor you want rivets to go. If using hot glue, put a small dollop on the spot and then lay the googly eye onto the hot glue. While the hot glue is still malleable, carefully wipe any excess away (it may still be hot, so do this cautiously). If using rubber cement, brush a layer of cement on the glue and another layer on the back of the googly eye. Dry slightly with the low setting on the heat gun (about 15 seconds) and carefully lay the googly eye on the spot. Beveling I only just figured out how to do this and I’m in love. Seriously, my rotary tool (compliments of my sister and mom – yay birthday) is like the best thing I’ve ever gotten for crafting. Doing this really helps to clean up lines and edges and make things look uniform. I use the larger sandpaper cylinder that came with my set to do my beveling. Start on a low setting if you can and carefully move the sandpaper cylinder along the outer edge of your foam. It’s better to go low and slow because then you have more control over the tool. When you get to a corner, you want to be careful because the rotary tool has a tendency to get wrapped up in the edge and warp the foam. You can play with the speed settings and find one you are most comfortable with. I’d recommend staying on a low setting for face-beveling, that is, beveling the edges that will be seen when you wear it and a higher setting for hard edges and the back edges, especially with EVA foam because they have those dang bumps you want to get rid of. You can also bevel the craft foam details if you choose to, but use a slow setting to do so because craft foam is a little more delicate than EVA foam. Right: As of May 15, 2017, this is what I am working on using the pattern that you saw in this How-To. They are bracers for my gijinka Kabutops cosplay. This is after three to four layers of paint. No where near done, however, it gives you a sense of what you can create! | Please make sure when you are working with any sort of tools that you exercise caution and wear any and all protective gear! I always wear latex gloves, a mask, and goggles. Patterningon your body 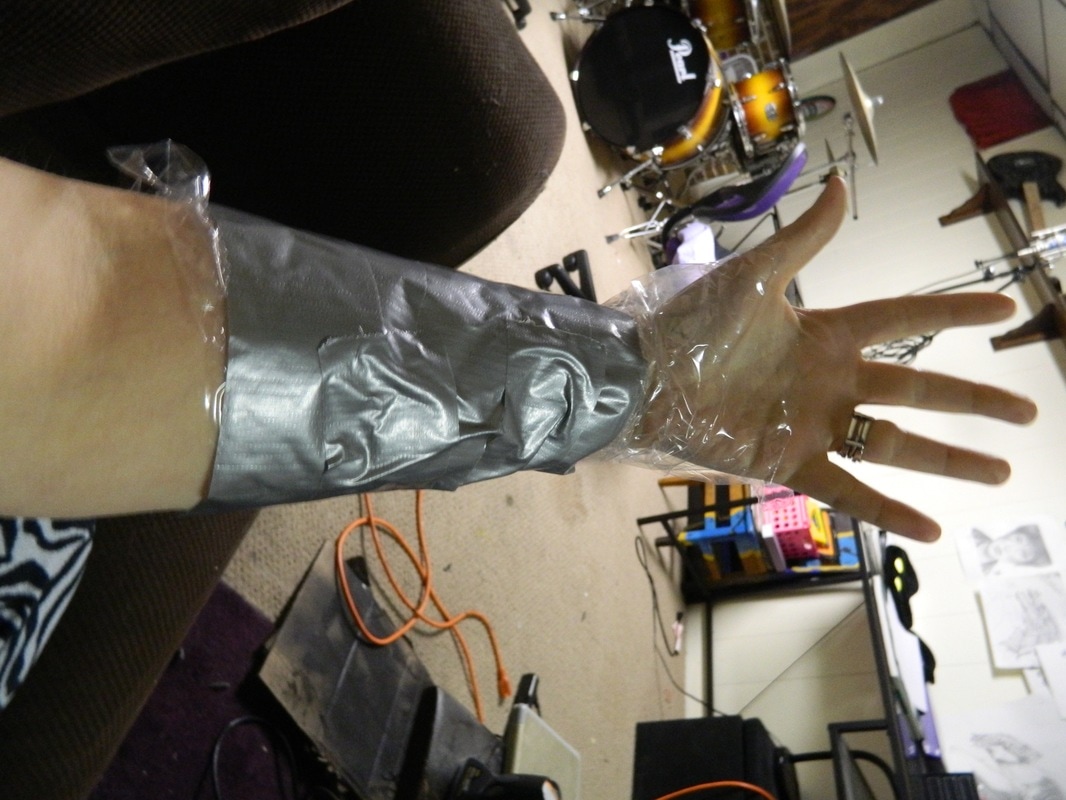 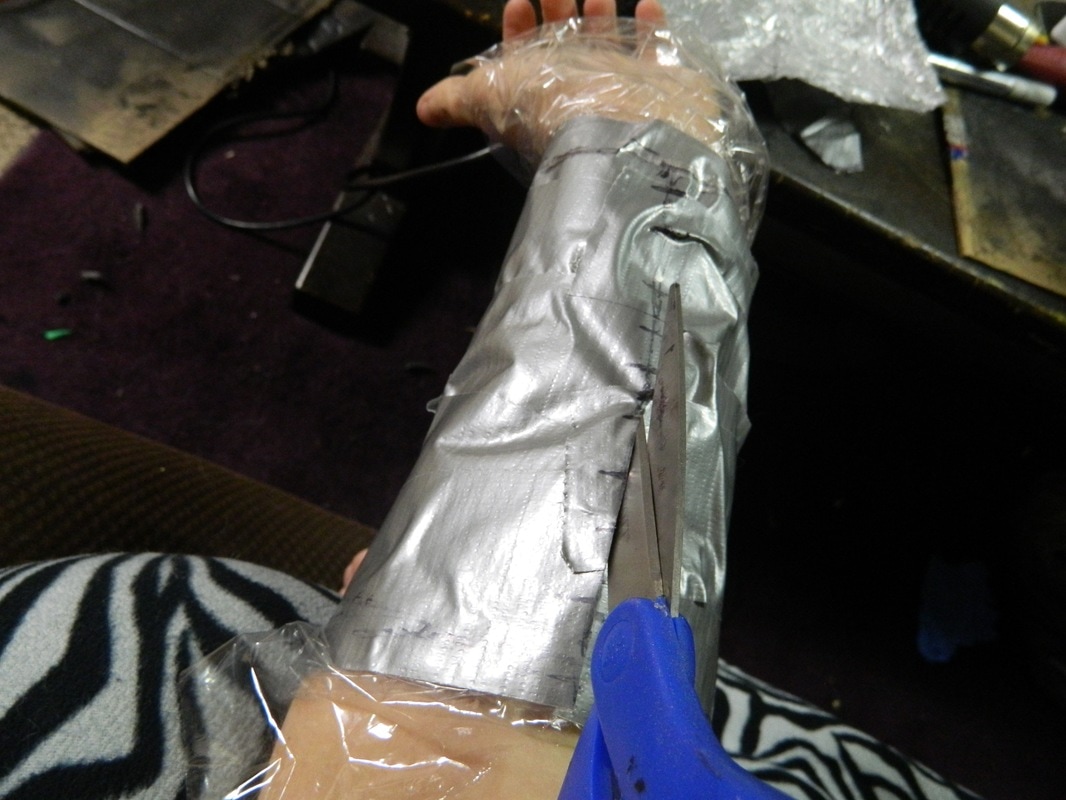 on your foam 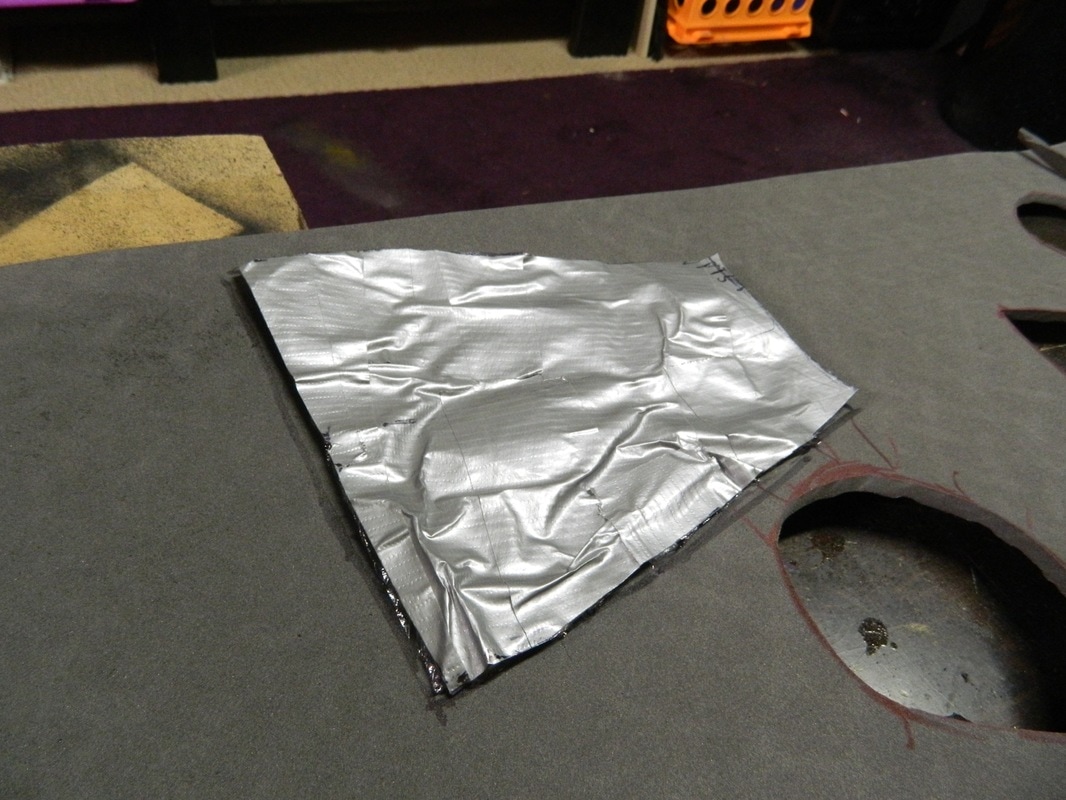 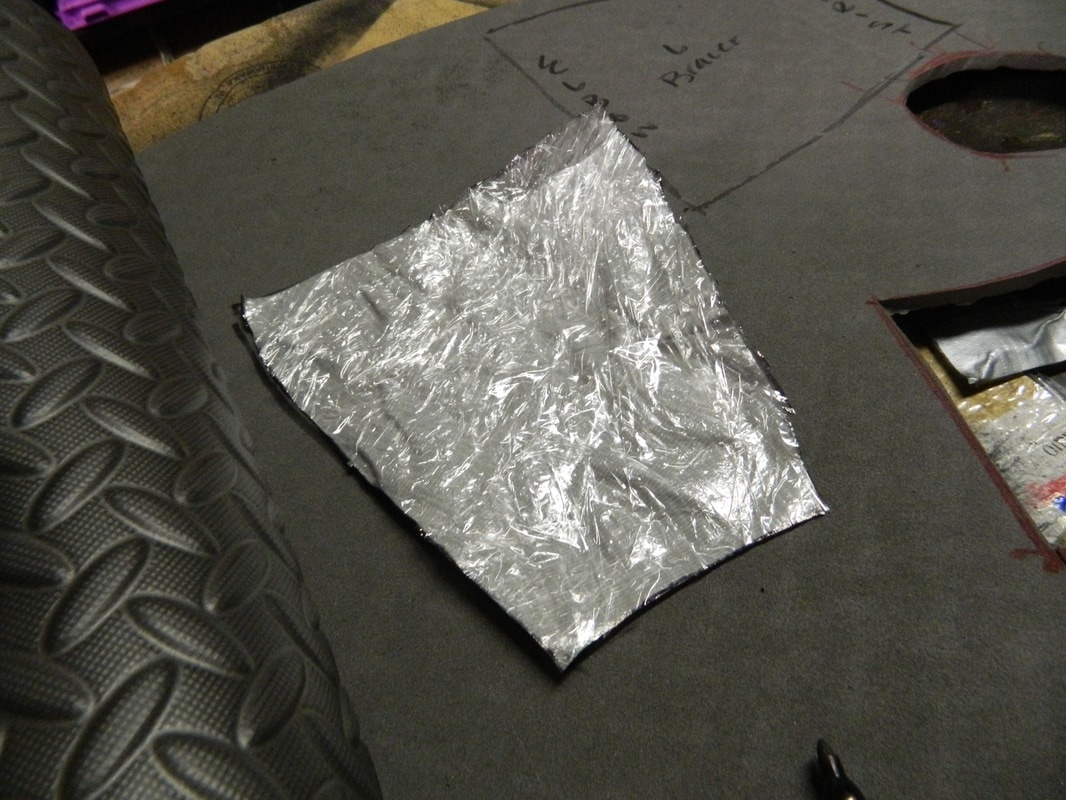 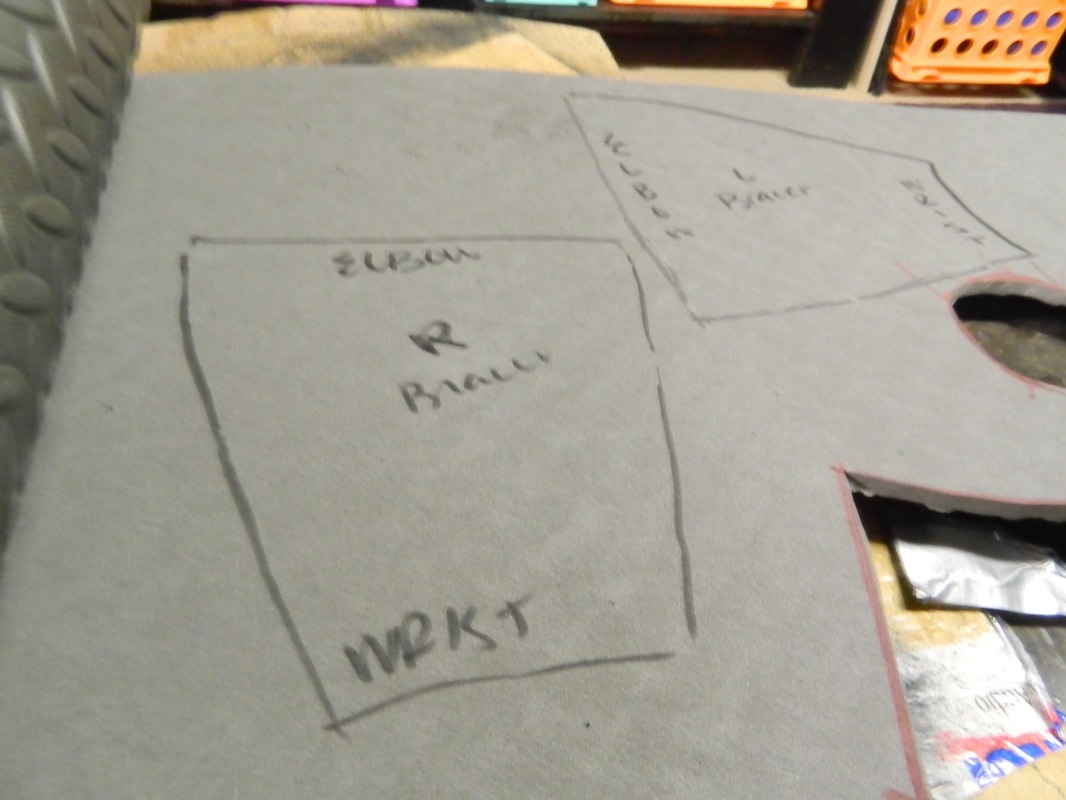 Cutting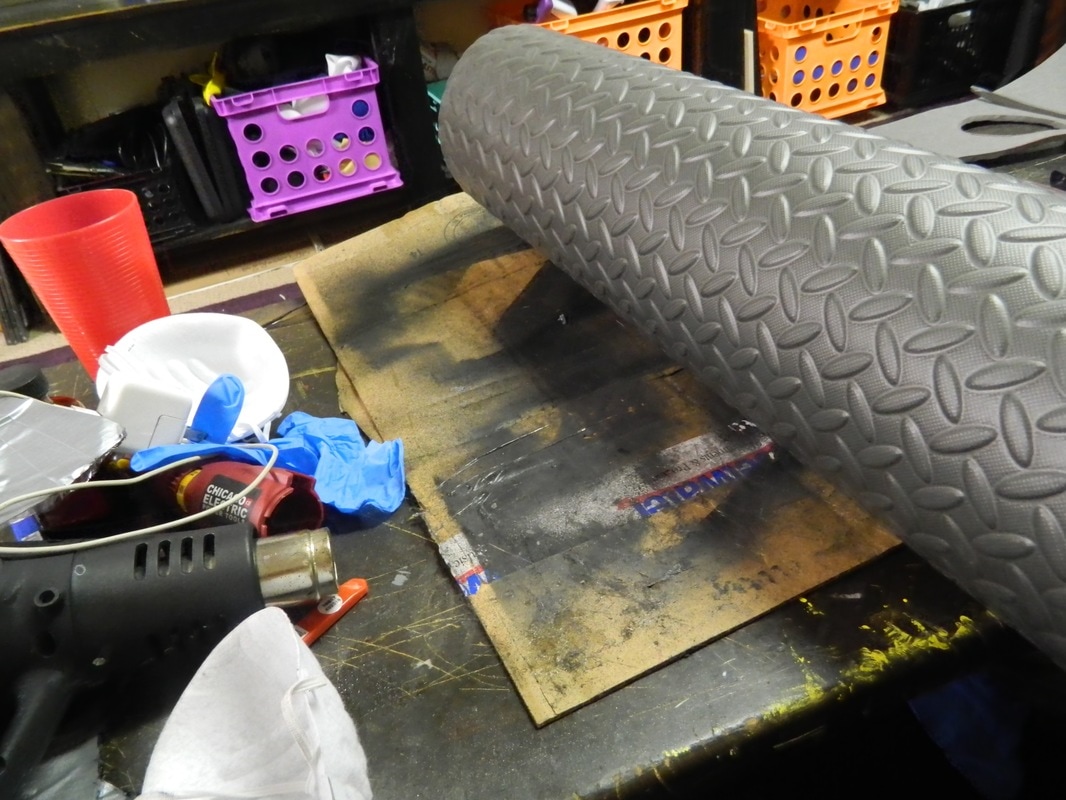 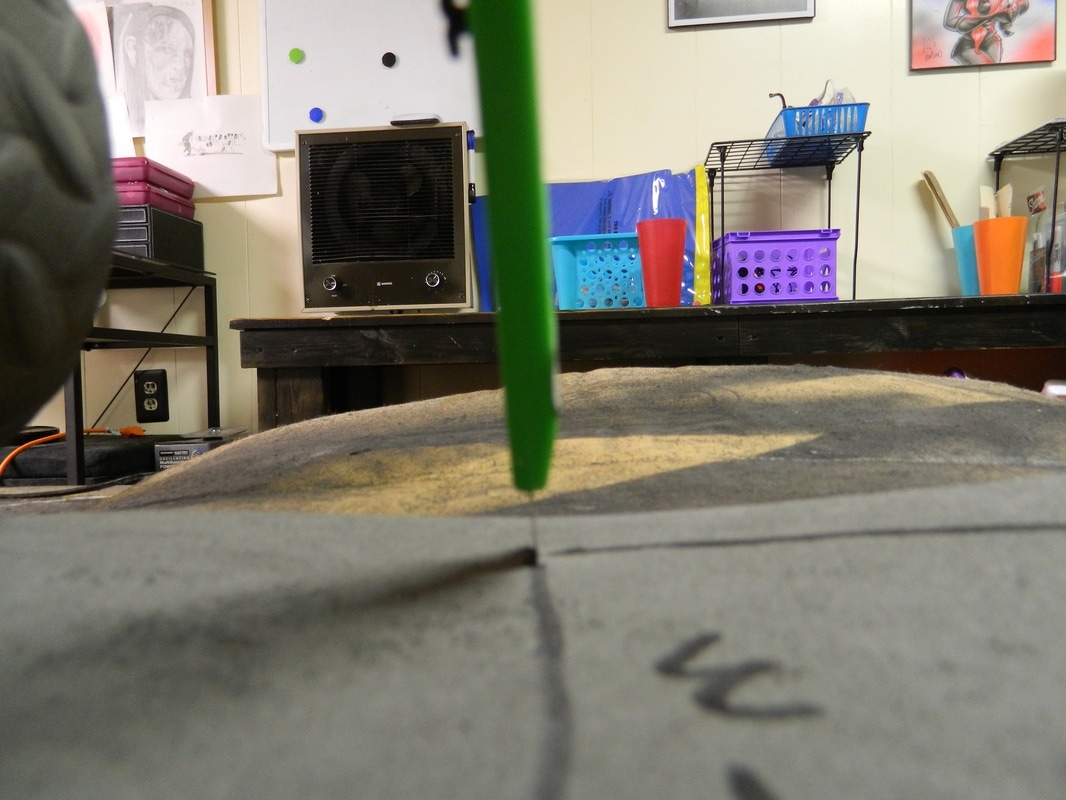 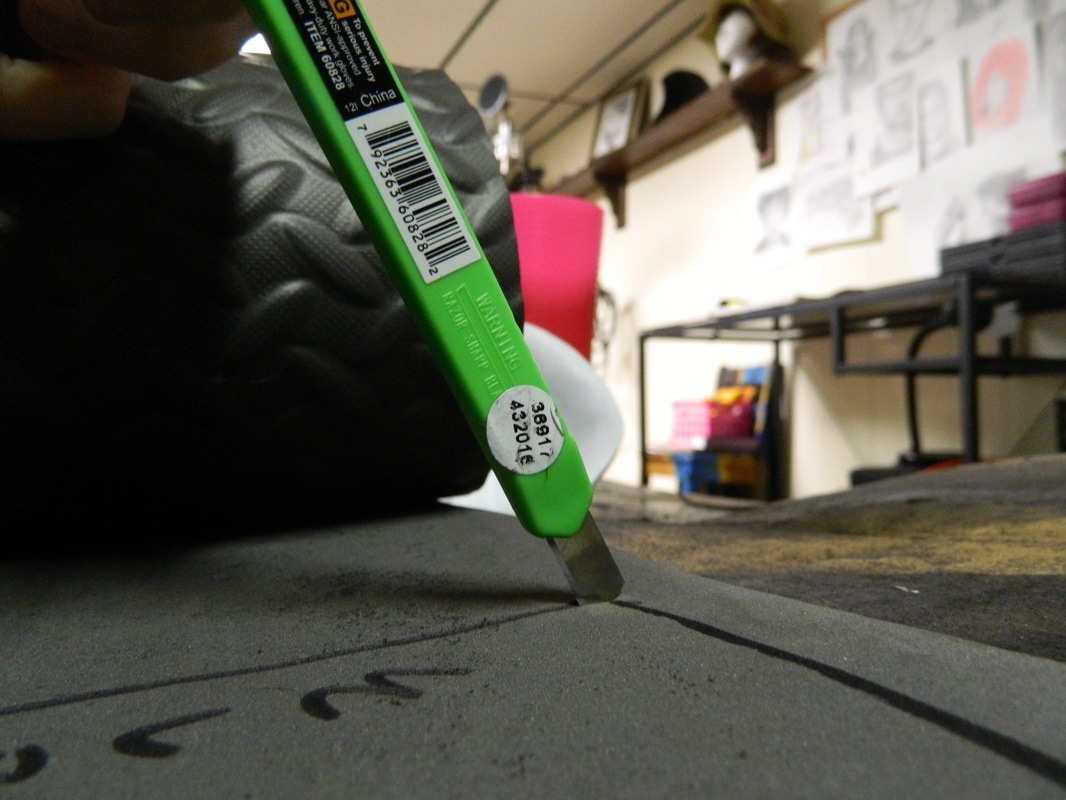 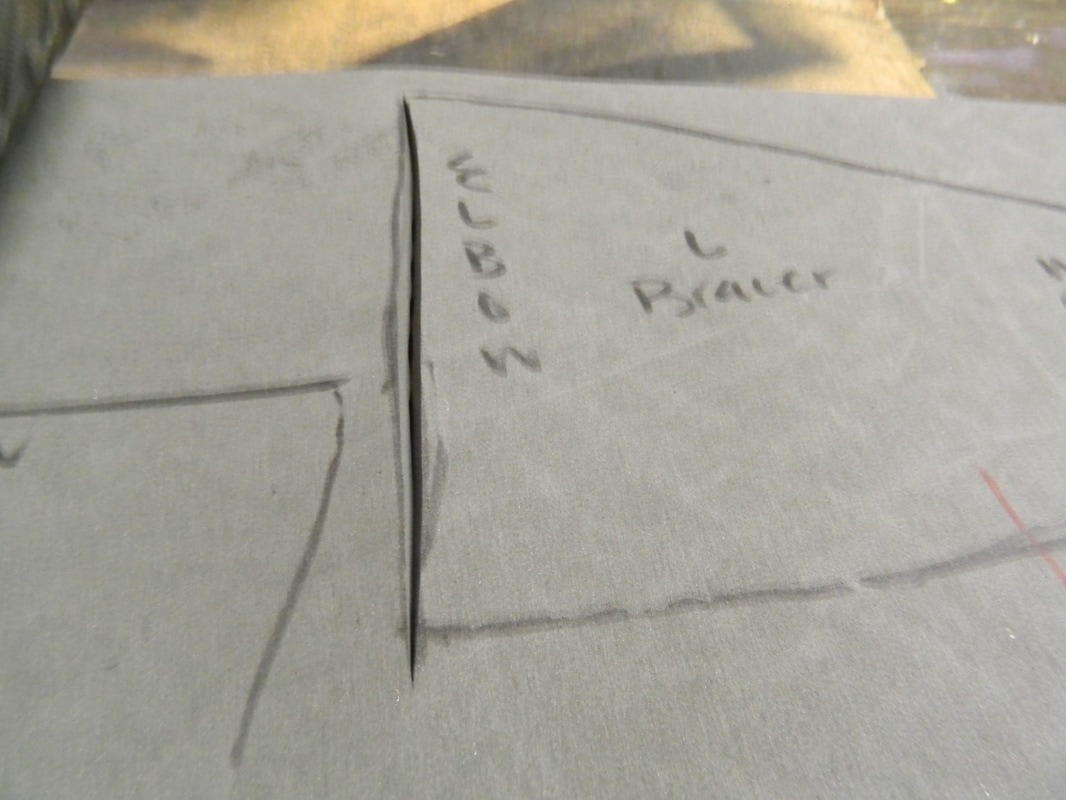 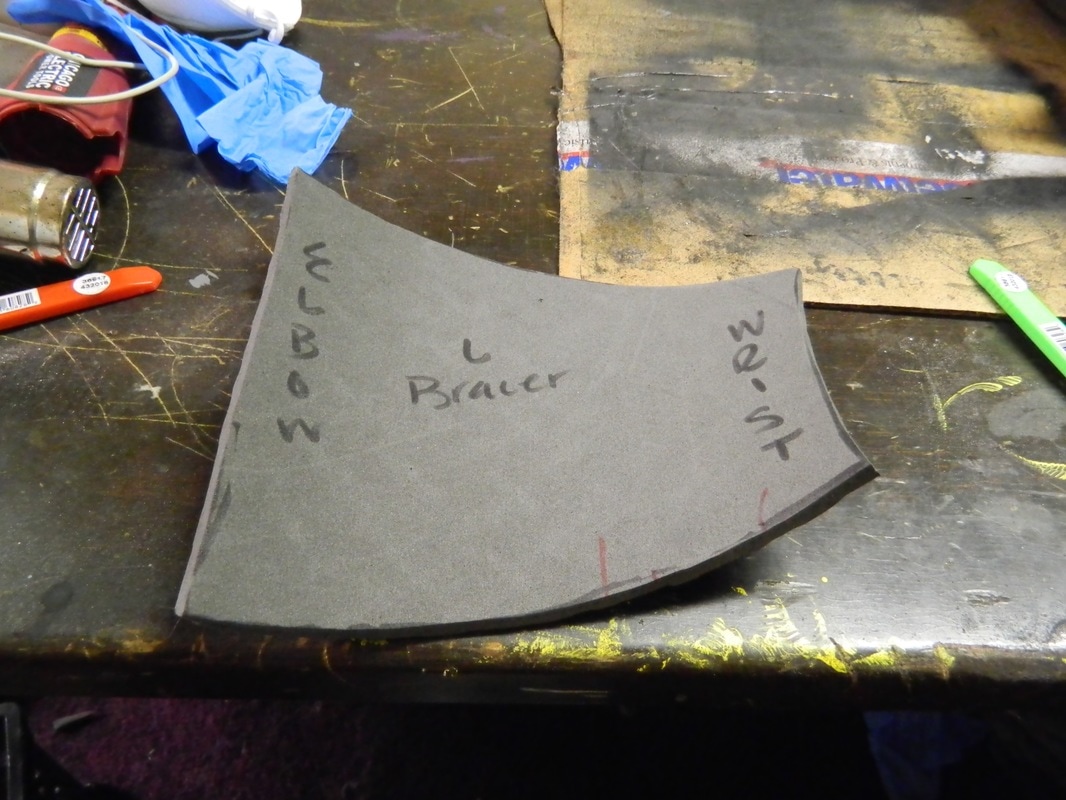
Forming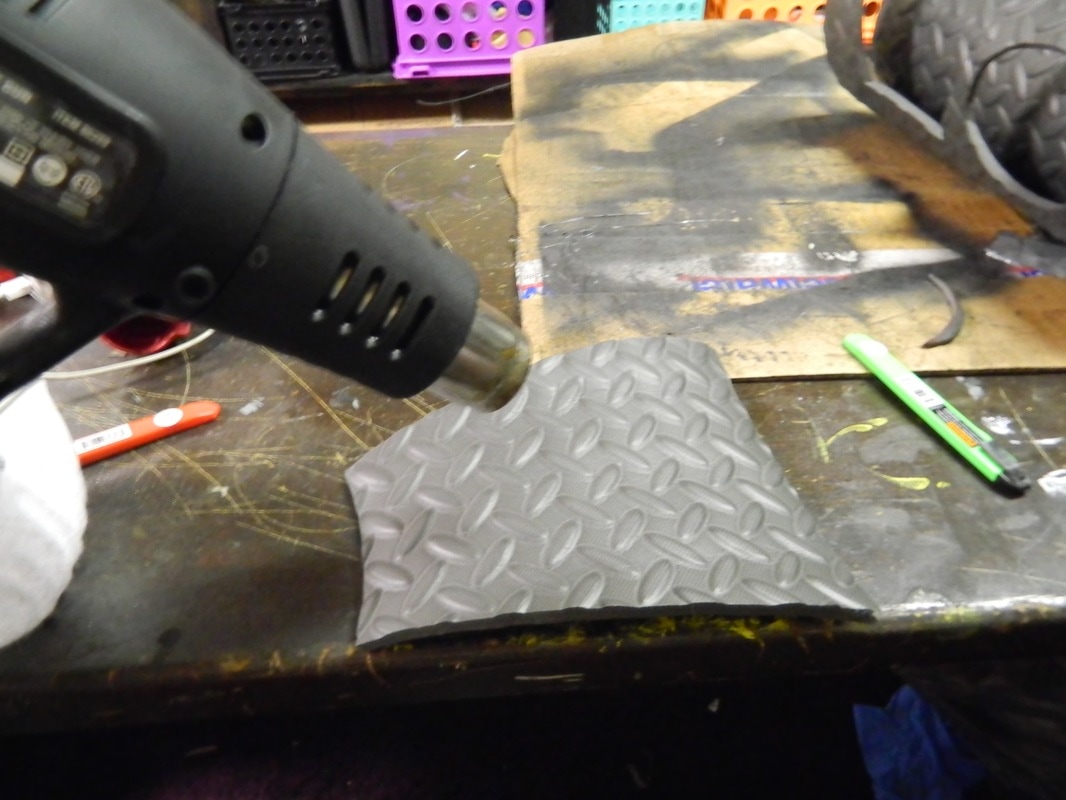 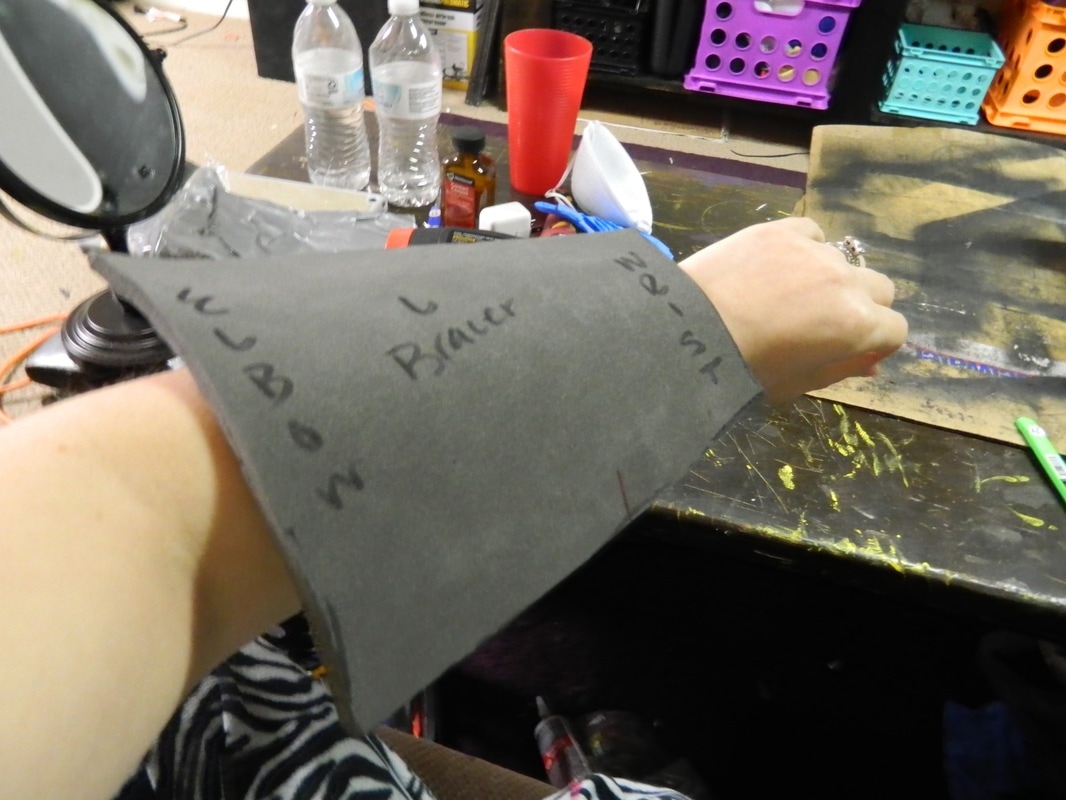 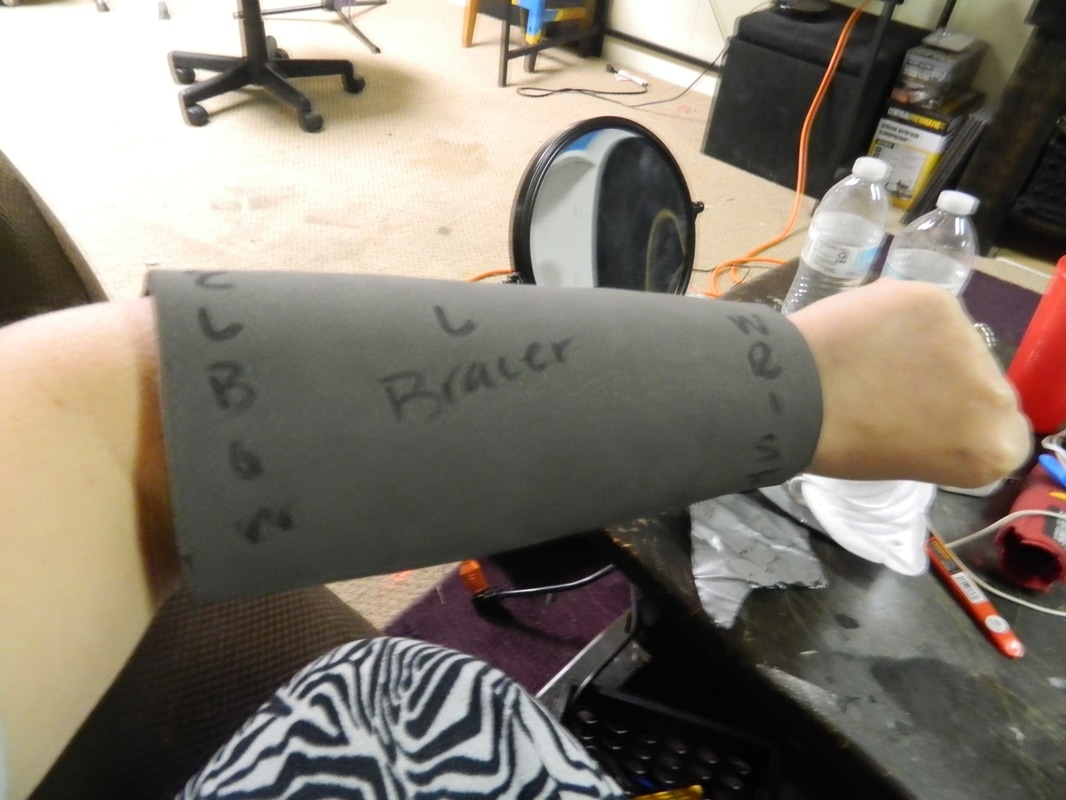 Detailingwith craft foam 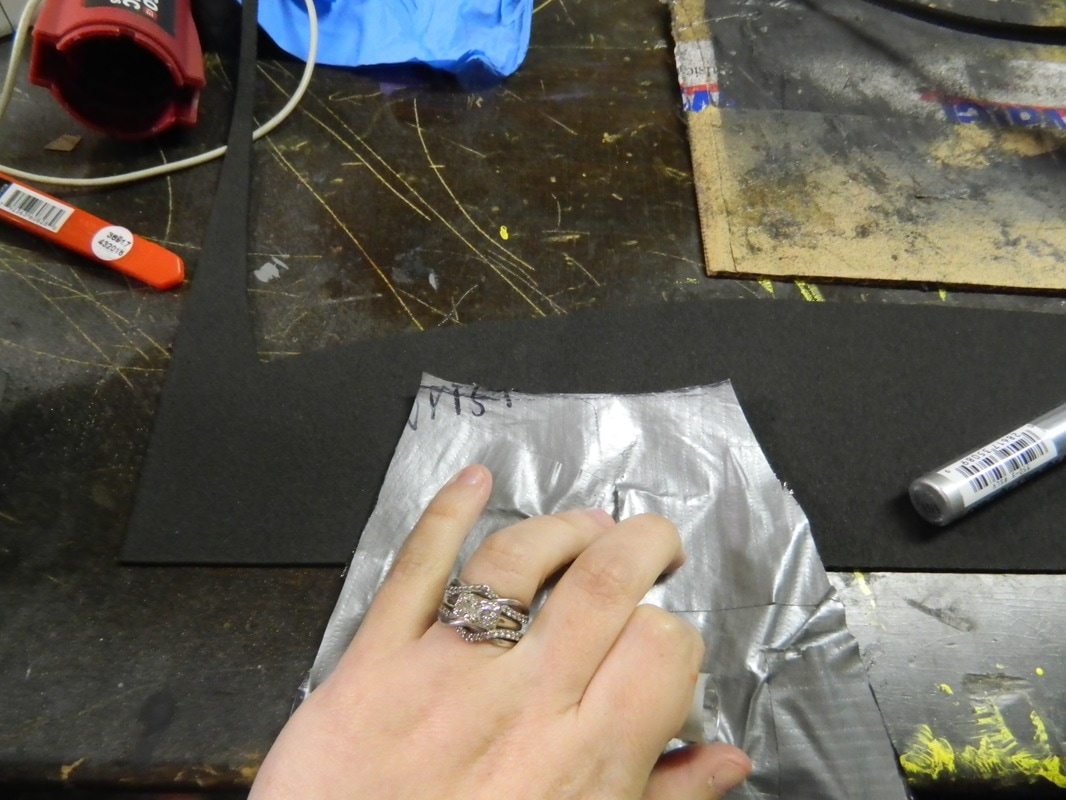 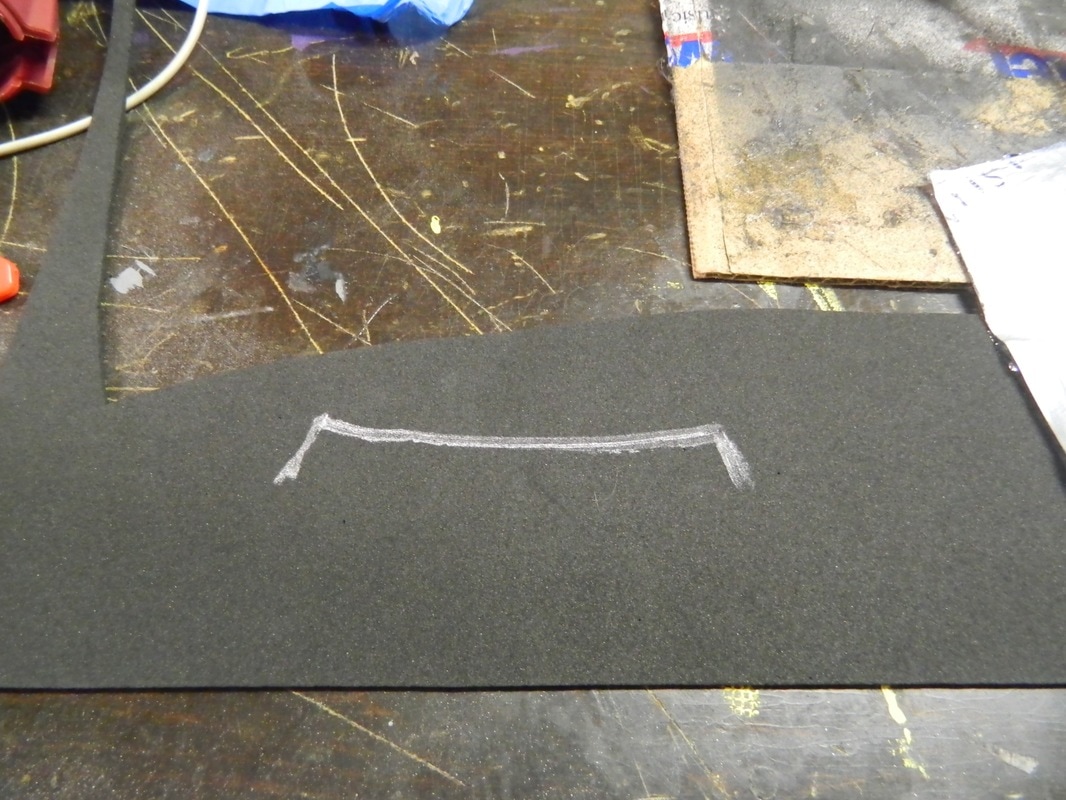 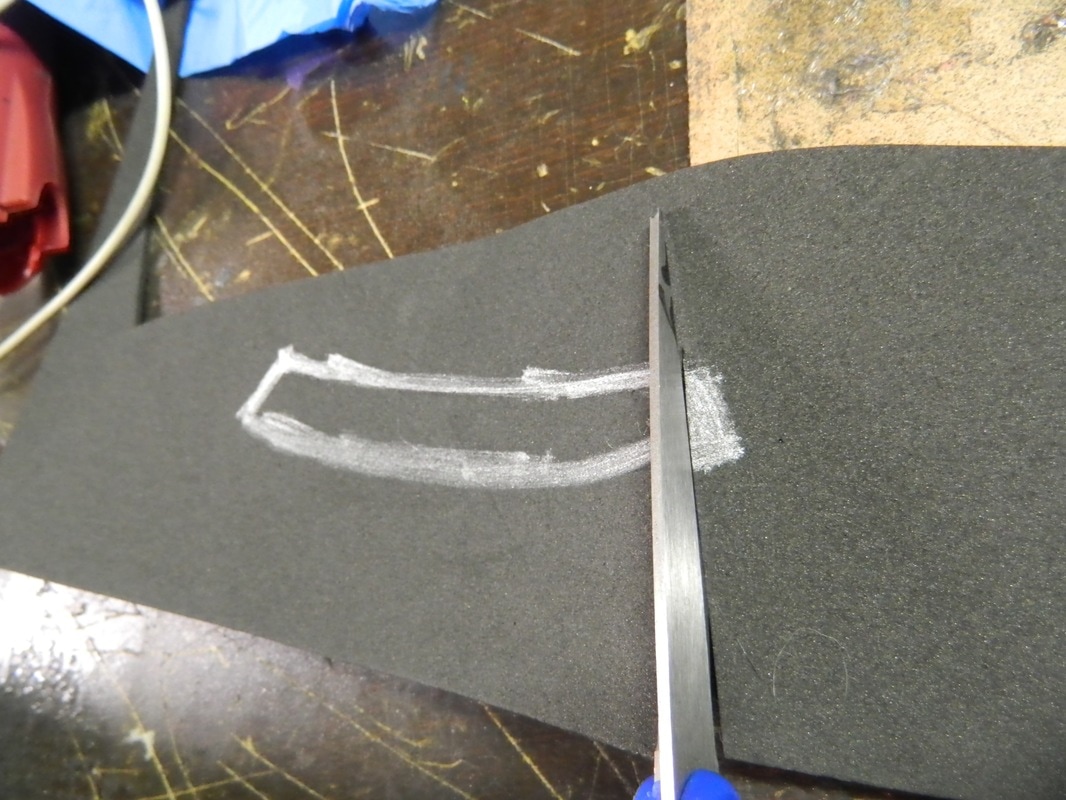 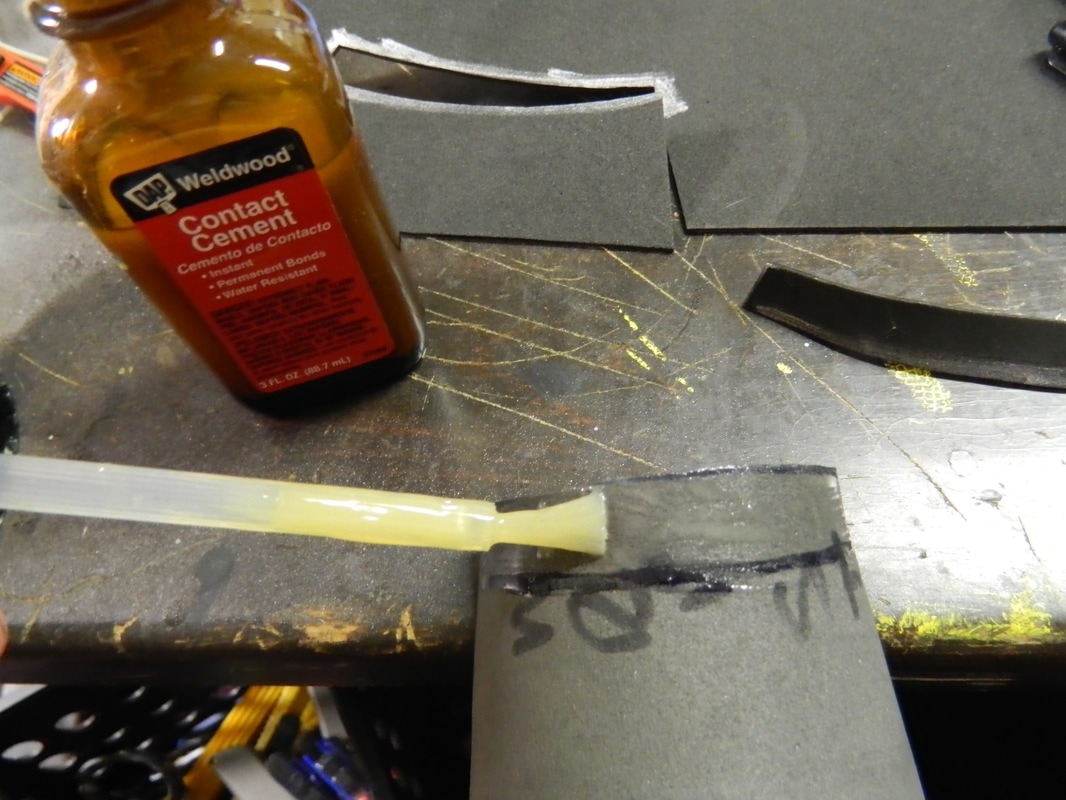 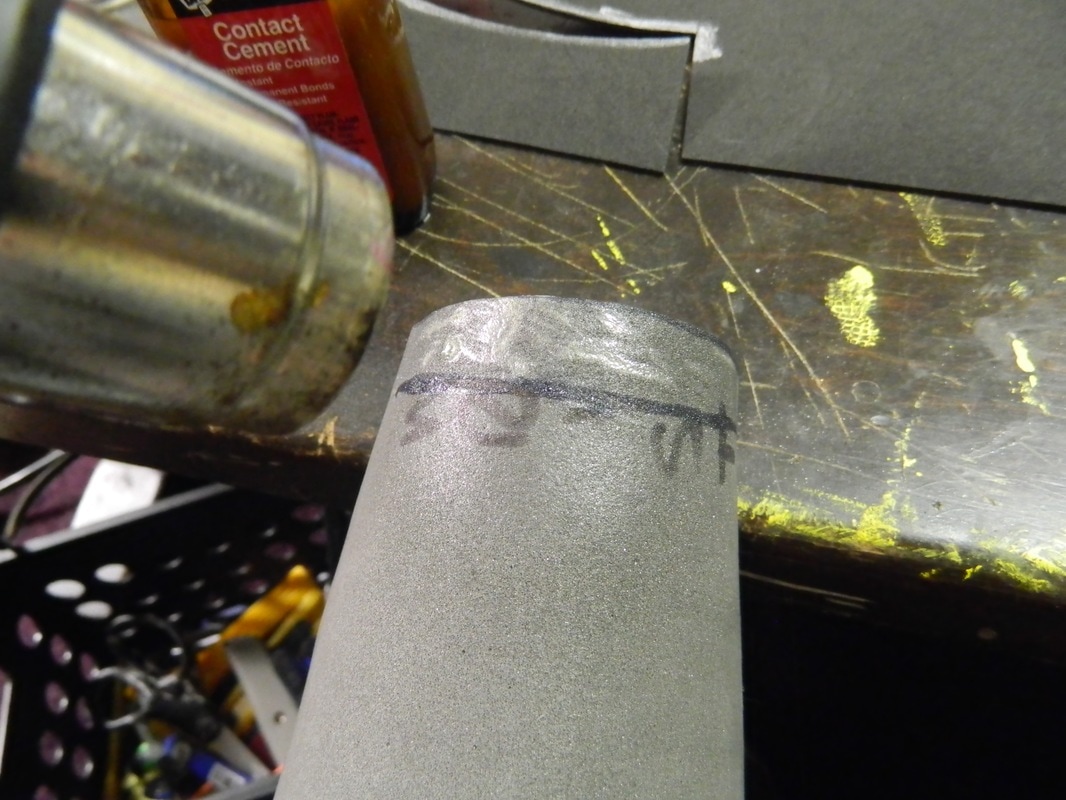 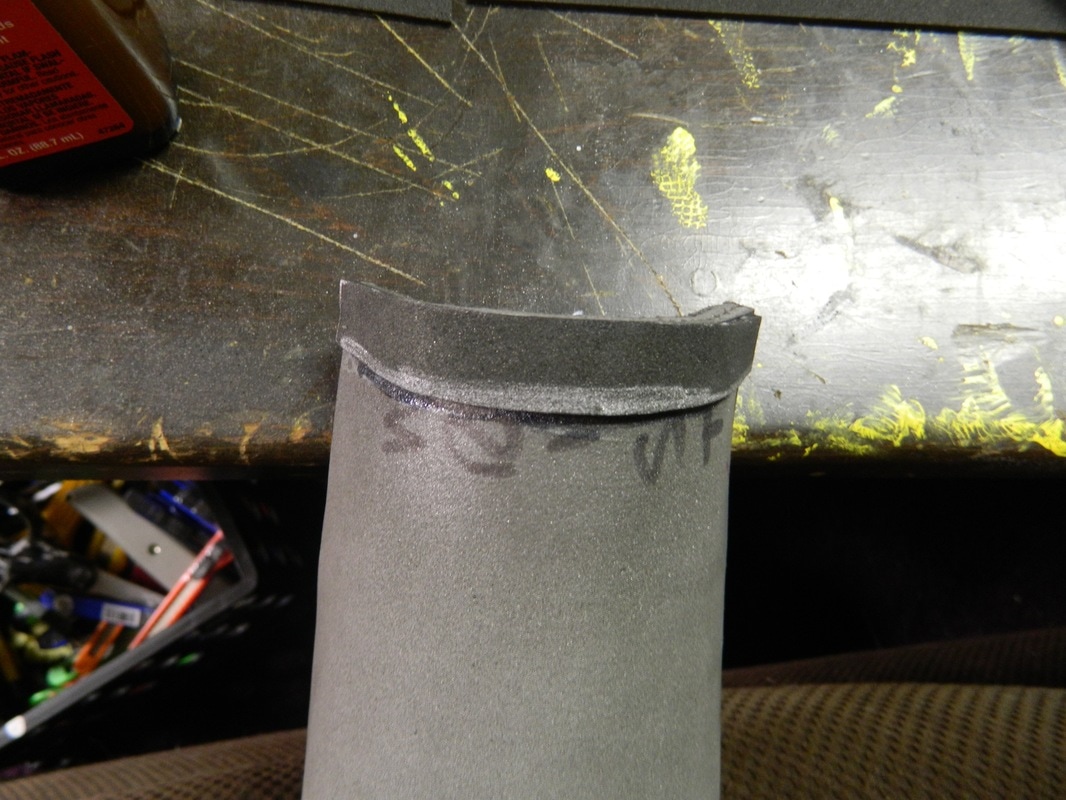 creating lines/designs 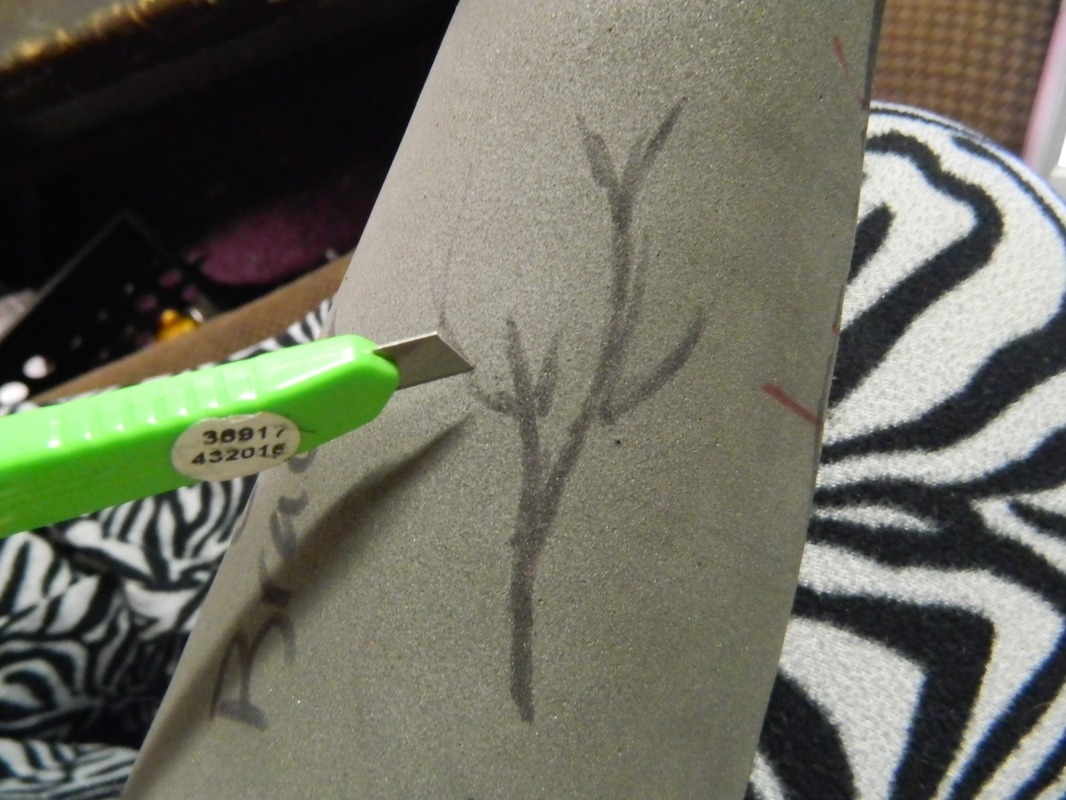 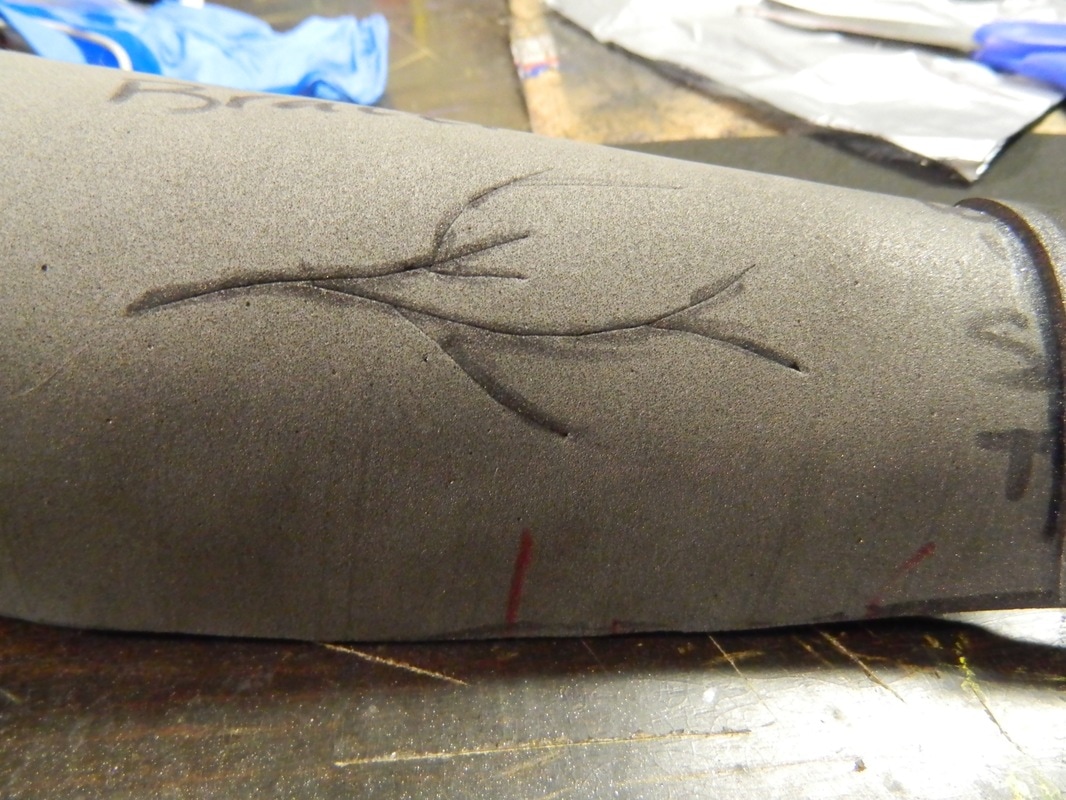 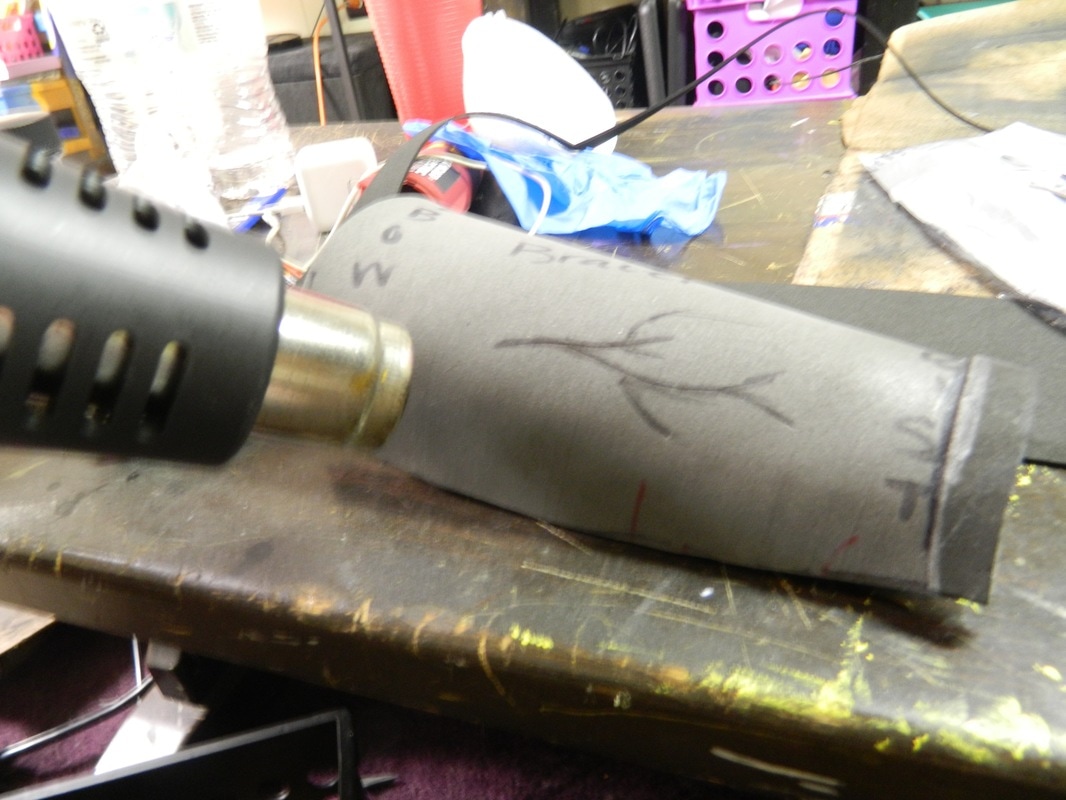 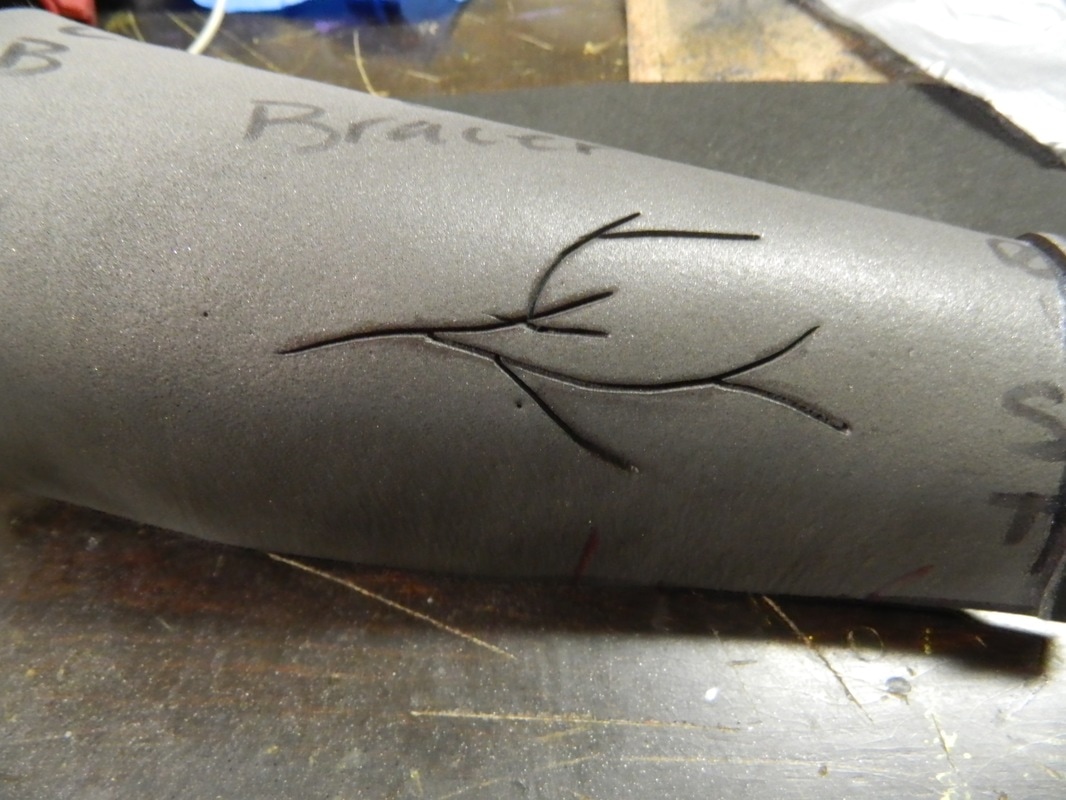 rivets w/ googly eyes 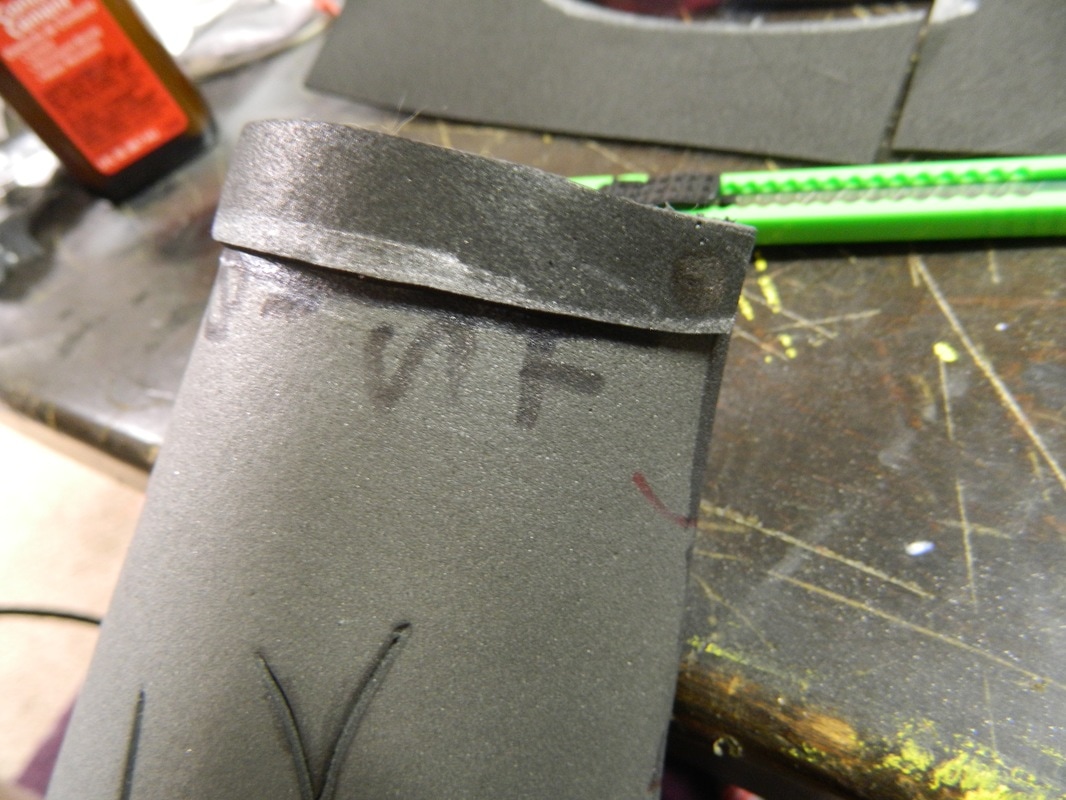 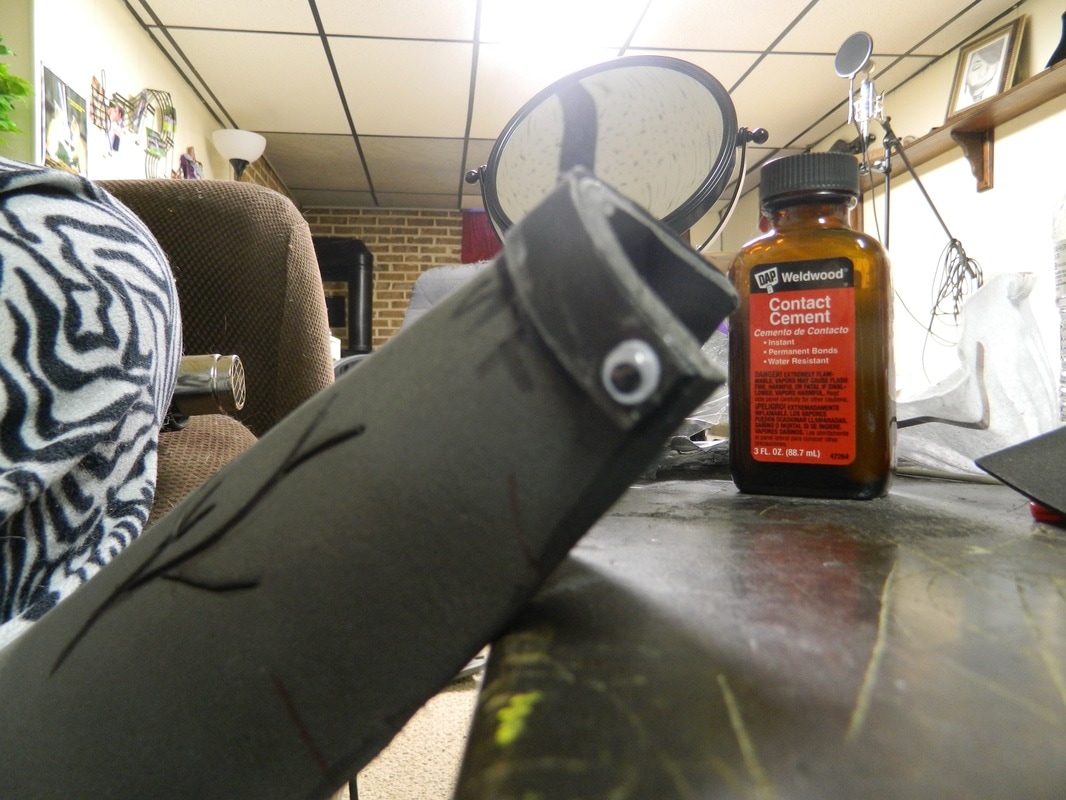 beveling w/ rotary tool   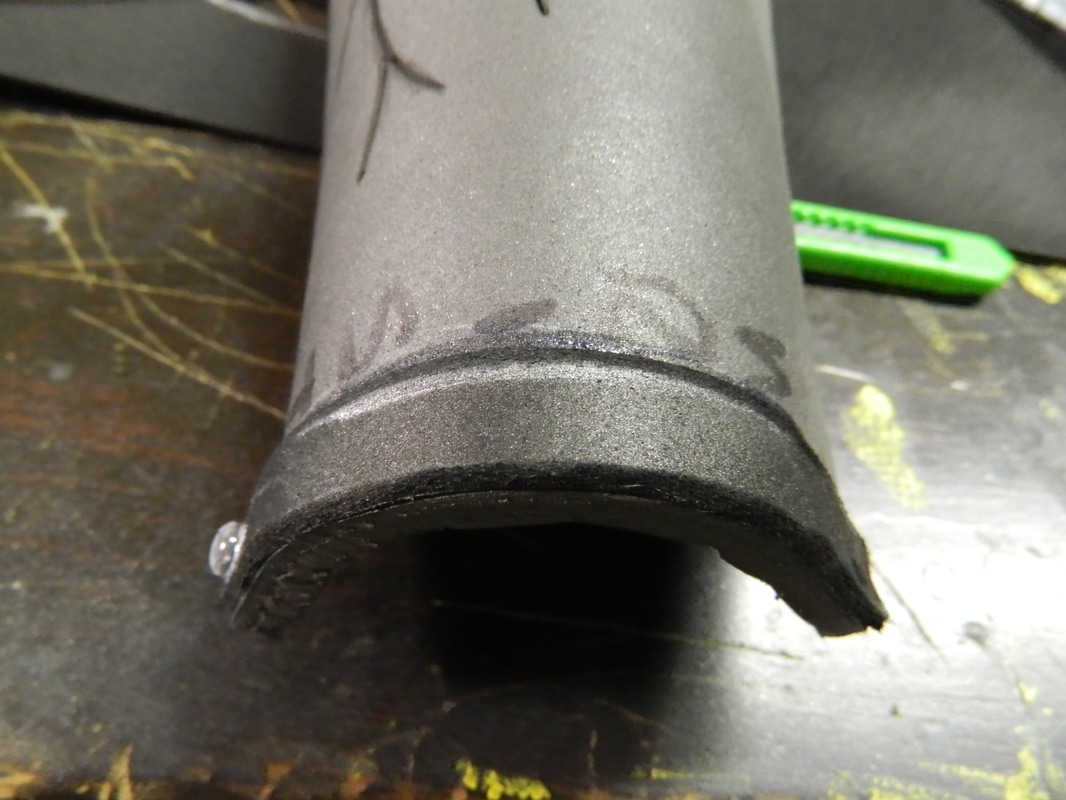 Example |
0 Comments


Author
Maiacat Cosplay
Amateur cosplayer new on the cosplay and con scene - just trying to get her name out there!
You can see all of my blog posts on the left, or click on a category to narrow down your search!
Archives
July 2018
April 2018
January 2018
December 2017
November 2017
October 2017
September 2017
August 2017
July 2017
June 2017
May 2017
Categories
All
Cosplay Conventions
Cosplay Fun
Cosplay How To
Cosplay How-To
Cosplay Updates
Feature Friday
General Cosplay Stuff
 RSS Feed
