|
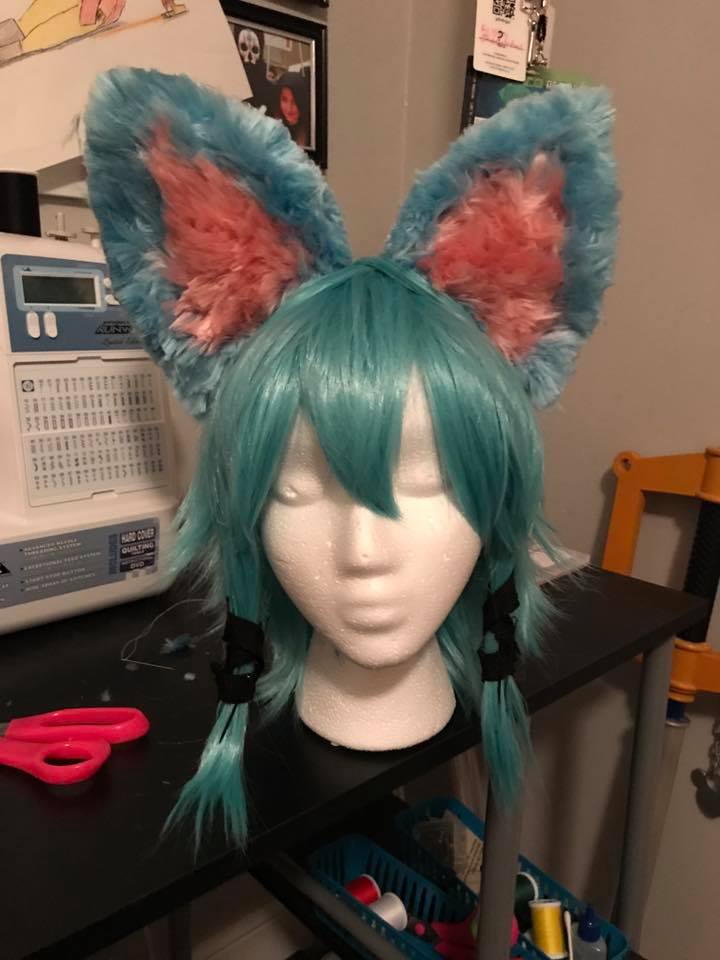
The last couple of weeks have been kind of hard for me cosplay-wise. I don't know why, but the entire process has thrown me into a depression that I found it difficult to pull myself from. I don't know why.. but every little thing has caused me so much anxiety with this cosplay. I finally got some motivation today to get stuff done. I worked on my bow and I finished sewing the yellow bias tape onto the jacket. I also did a makeup test. Set back, though, is that I trashed the quiver and may redo it if I have the time. Things in red haven't been started, things in purple have been started, and things in green are done. There's some progress happening, though I worked today for hours and I didn't get anywhere.
EVA and Craft Foam |
|||||||

| Here is part two of my EVA and Craft Foam tutorial - FOR BEGINNERS! I'm a beginner myself - I've only been cosplaying for a year and I've only been using EVA foam for approximately 10 months so I am by no means an expert, but these are my tips and tricks on how to craft armor using foam. Again, I’ve color-coded the tools for each step. Each color is associated with the store that I bought the item from. If it does not have a color, then it was an item I had around the house (and something you can probably get anywhere): Red is Harbor Freight Blue is Walmart Green is Joann Fabrics Orange is Michaels There are seven parts to crafting with foam: patterning cutting forming detailing priming painting attaching Priming Tools: plastidip (spray or paint-on), paintbrush (optional - only w/ paint-on) I always recommend heat-sealing your foam before you prime it. All heat-sealing is.. is taking your heat gun and blasting hot air across the surface of your foam. You want to be careful, though, that you don't keep the hot air on your foam for too long or it will either burn the foam or un-form. The heat-sealing does just that: it seals the surface of the foam and makes for a nicer finish on the primer and paint. Once you have heat-sealed your foam, it's time to prime it! I swear by plastidip - which is a spray- or paint-on rubberized primer. It allows the armor to move without cracking, and if it gets wrinkled, you can hit it with the heat gun and iron it out. I've used both the spray-on and the paint-on plastidip. I prefer the spray-on BLACK plastidip because it leaves a super smooth finish. I don't know what it is, but the white NEVER works for me. Like, ever - it sputters and bubbles. The grey is alright, but I definitely prefer the black over any other color. The paint-on is thicker than the spray-on and, when I started making armor, only used the paint-on. I like it, as well, but it's more laborious than the spray and leaves streaks/paint marks if you are not careful. I recommend doing at least two coats (I usually do three-to-four depending on the job), allowing the plastidip to dry in-between. If you are not patient (like me), you can speed up the process with your heat gun - JUST BE CAREFUL! Painting Tools: paint (spray paint or acrylic paint - whatever is appropriate for your costume), paintbrushes (small and large), paint sealant (Pledge Floor Finish), foam brush, water, black acrylic paint, small cup Once your primer is all dried up, you're ready to paint! Now.. depending on your project, your paint needs may change, so this section will be short and sweet. I usually use some sort of spray paint, though I do have an airbrush (that I need to learn to use). I use acrylics, too. With acrylic paints, you have to be careful because they may crack if the armor piece moves unnaturally. I've found that spray paint may do this, as well. There's not a brand of acrylic paint that I swear by. I usually use Krylon spray paint, mostly because it comes in a lot of colors and it's affordable. I recommend doing two-to-three coats of paint, allowing it to dry completely in between. Using black acrylic mixed with water, you will want to weather your armor. That just means doing a wash of watered-down black paint over your armor to give it a worn and, well, weathered look. It adds life and dimension to your armor. You will want to make the edges a bit darker to really make it pop and look three-dimensional. After you have finished painting and let it dry, you want to seal your paint. I know that there are spray-paint-type versions of paint sealer and different types of sealants, but I just use Pledge Floor Finish to seal my armor. Attaching Tools: velcro, elastic, hot glue gun, hot glue sticks, snaps/fasteners/eyelets When attaching your armor, you will need to do your research (Google search and YouTube) to figure out how you want to attach your pieces and what resources you will need. Below is generically how I attach and have attached armor pieces. Just like painting, attaching depends on the type of armor you are making. I generally use elastic and velcro to attach my armor. When you are gluing your elastic to your armor, make sure to SAND the area of your foam that you are gluing. EVA foam has a coating on the inside that makes it hard for glue to stick for long periods of time. Start by covering the area with hot glue and press the elastic upon the glue, then you want to edge the elastic with the glue and bring a line or two of hot glue across the elastic closest to the edge. This will stop the elastic from pulling and loosening. Again, please check Youtube tutorials for this, because it really depends on your needs! | Please make sure when you are working with any sort of tools that you exercise caution and wear any and all protective gear! I always wear latex gloves, a mask, and goggles. PHOTOS IN PROGRESS & WILL BE ADDED SOON |


Author
Maiacat Cosplay
Amateur cosplayer new on the cosplay and con scene - just trying to get her name out there!
You can see all of my blog posts on the left, or click on a category to narrow down your search!
Archives
July 2018
April 2018
January 2018
December 2017
November 2017
October 2017
September 2017
August 2017
July 2017
June 2017
May 2017
Categories
All
Cosplay Conventions
Cosplay Fun
Cosplay How To
Cosplay How-To
Cosplay Updates
Feature Friday
General Cosplay Stuff
 RSS Feed
